How to Create Vintage Music Paper Christmas Trees
Posted by Olivia Sum on
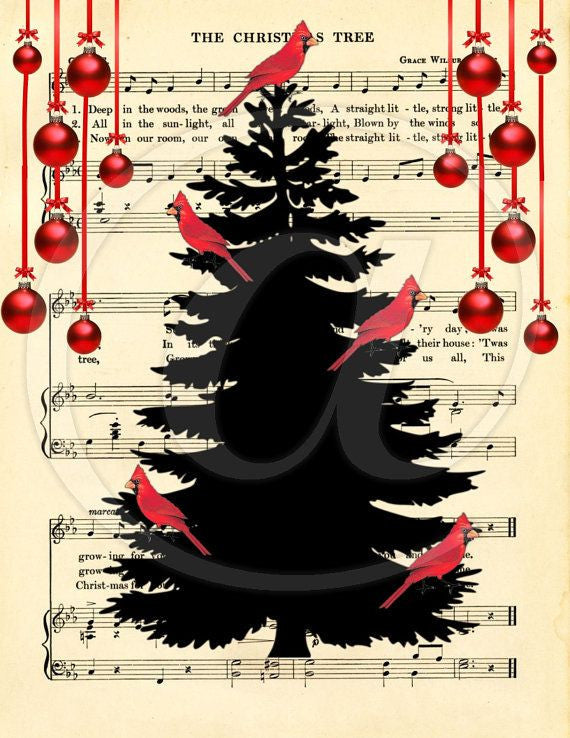
Christmas time is nearly upon us and all us crafters have got the itchy finger because we want to get crafting some new Christmas decorations. We’ve got a really cool idea that we think you will love using vintage music paper to create cute little Christmas trees to either hang on the tree, on the bookshelf or anywhere else. We’ll explain which vintage music paper to choose, what you will need to make these cute decorations and also how to make them of course. There’s no time like the present, let’s get started.

Image: https://www.pinterest.com/pin/407435097513704279/
Which Vintage Music Paper to Choose
You will be surprised as to how many different variations of vintage music paper there actually are on the digitalpaper.shop website. The Music Sheets range is the bestselling vintage music paper on the website. It has eight different collections in its range all of which have 12 papers… that’s 96 vintage music papers in total! We told you there was plenty of music paper to choose from, and you thought we were kidding. The range includes lighter browns of paper, darker browns and even crumpled up textured music paper. For this particular task, choose a non-crumpled lighter music paper.
What You Need to Make the Vintage Music Paper Christmas Trees

Before starting the task at hand, you are going to need the following items first:
- Christmas Tree Clipart – This will be the main base for your design and you can download it on the digitalpapershop.com website.
- Vintage Music Paper – To create a unique Christmas tree decoration, have vintage music paper as the background.
- Star Clipart – A Christmas tree wouldn’t be a Christmas tree without a star on top. You can also download this on our website.
- Pearls & Red Gems – These are optional extras and can be bought in any arts and crafts stores if you haven’t already got some.
- Red Twine – If you’re hanging your little Christmas trees up, then use red twine to do so.
- Photoshop – You will need this to create the music paper Christmas trees however you can always cut the shapes from the paper if haven’t got Photoshop.
- Printer
- Scissors
- Glue Gun
How to Make the Vintage Music Paper Christmas Trees

Now that you have everything you need, it’s time to start making them. Here is a step-by-step guide on how to do it:
- Download the Christmas tree clipart and open it up in Photoshop and add a red colour to the stem of the tree.
- Download the Vintage Music Paper and also open it in Photoshop and use the marquee tool to select a square of it.
- Go back to the layer the Christmas tree clipart is on and edit the layer to change the background of the tree (not the stem) to the music paper you saved as a pattern.
- Download the star clipart and again open it in Photoshop and use the same red colour from the stem for the star.
- Cut the star and paste it on top of the Christmas tree and print as many of them as you like onto card. If you are hanging them up, then print onto both sides of the card.
- Using your scissors, cut out each Christmas tree and use the glue gun to glue your gems and pearls to each tree. A pearl added to the middle of the star will look great.
- Lastly, glue the red twine to the back of the tree at the top ready for hanging. Make sure to loop the twine before gluing.
- You now have your cute little vintage music paper Christmas trees!
We hope you have enjoyed this tutorial and will have a go at making them yourself. If you do, make sure to send us your photos by tweeting us @DIGITALPAPERSHOP.
