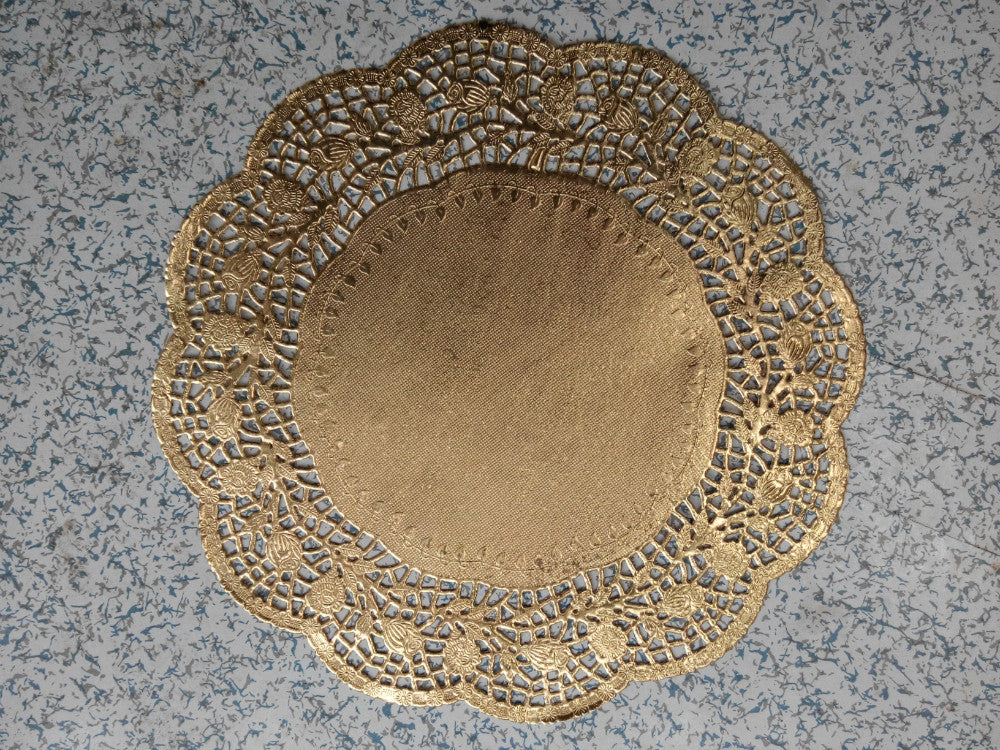
DIY Coasters Tutorial Using Shiny Gold Paper
Posted by Olivia Sum on
Coasters are something every household has and needs to protect their coffee table, dinner table, desk or side table surfaces. You can imagine how many surfaces a family home has to protect, they need a whole bunch of coasters to protect all the bedside tables too. They come in handy for placing drinks on but also to place candle jars on too so as to not burn the surface. The good news is that you can make your very own coasters easily and cheaply. You can make a load for yourself or even make some as a gift for someone or for your kids to make for their teachers.
In this tutorial, we will go through which gold shiny paper to choose to make for your coasters, what you will need to make them and a step-by-step guide on how to make them… let the fun begin!
Which Shiny Gold Paper to Choose

It is Christmas and you want to make some lovely gold shiny coasters for a friend, a family member or for your kids to give to their teachers. You may be surprised to know that there is actually a load of shiny gold paper to choose from. For this project however, we suggest you go for the Shiny Gold Paper Collection which has 10 shades of rich and glowing gold paper for you to choose from and use again. You can buy this gold paper collection from the digitalpapershop.com website.
What You Need For Your Shiny Gold Paper Coasters

In order to create your shiny gold paper coasters, you are going to need the following:
- Mod Podge – This is used to glue down the gold paper to the tile. Get this in the shiny finish for extra shine.
- Acrylic Sealer – This is to finish the adhesive which can also be bought in a shiny finish.
- Foam Brushes – These are to apply your adhesives.
- Glue Gun – You will need this to add the cork to the bottom of the coaster.
- White Biscuit Tiles – These will be the base and what you will build on in order to create your coasters. They are only cheap from the home improvement store.
- Shiny Gold Paper – This is, of course, to decorate your coasters to give them that lovely gold shine.
- Cork – You will need this for the bottom of your coasts so surfaces won’t get scratched.
- Twine – This is an optional extra if you are making your coasters for gifts as you can stack the coasters and tie with the twine with a nice pretty bow on top.
Now that you have everything you need for your gold shiny coasters, it’s time to get started on making them.
How to Make Your Shiny Gold Paper Coasters

Here is a step-by-step guide on how to make your stunning shiny gold paper coasters:
- Download and print your shiny gold paper and use a pencil to trace around the edges of the biscuit tile and cut out.
- Put a layer of Mod Podge onto the tile and place your gold paper on top and position it quickly before the adhesive dries.
- Wait for 10 minutes to let the adhesive dry and then put another layer of Mod Podge on but this time over the gold paper and let it dry again.
- Add 3 layers of the acrylic sealer to the gold paper side of the coaster making sure to let each layer dry before putting on the next.
- Place the cork on the bottom of the coaster and once you’re happy with the position, glue it down with the glue gun.
- You now have your shiny gold coasters! Do this for however many coasters you want. If you are giving them as a gift, stack them and tie them with twine.
Other Ideas for Your Shiny Gold Paper Coasters
You can go one step further with your shiny gold coasters by adding clipart as a centre piece. If it is Christmas coasters you want, why not add a sparkling red bauble to the centre. If it is everyday coasters you want, why not add a floral pattern to the centre. You can be as creative as you want with your coasters.
Share this post
- Tags: Coasters, crafting, creative, Gold-Paper, ideas
