Make Blue Paper Roses
Posted by Olivia Sum on
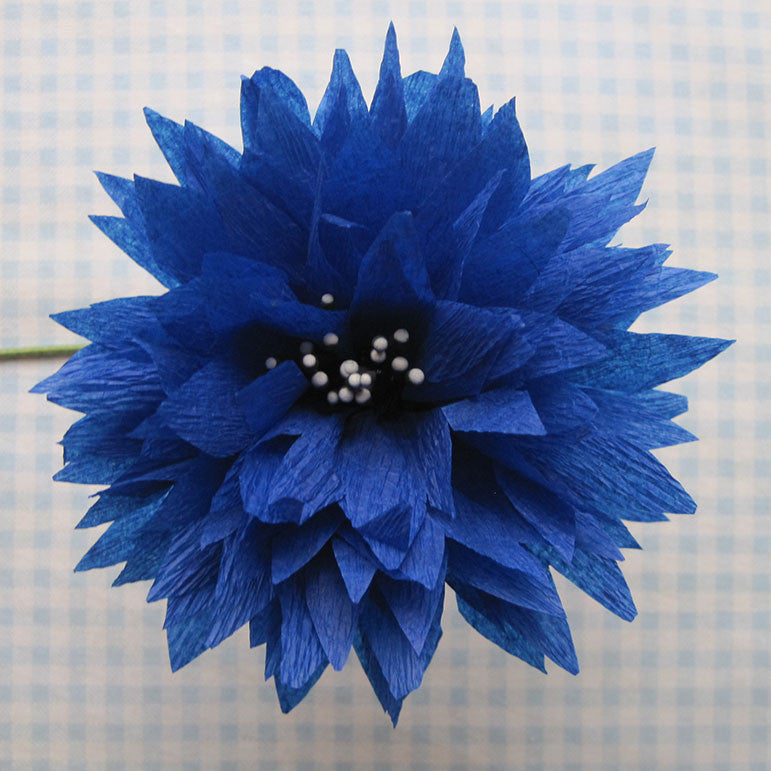
There are a number of reasons you may want to create blue paper roses. They can be incorporated into wedding themes, as well as parties and work wonderfully as creative, personal gifts for others. You can use blue paper roses for your gift wrapping, or simply to decorate the house with them.
Recipes for Blue Paper Roses
Blue Paper Rose Wedding Bouquet

Make your wedding stand out in the crowd by adding some blue paper roses to your bouquet. You can make them in varying shades of blue to have a three-toned look. You can use these bouquets for more than just your wedding! You’ll need to have 18 paper rose templates, some scissors, floral wire, 2 yards of ribbon, floral tape and a hot glue gun. You can find the full tutorial here.
Following the blue paper rose templates, trim the rose petals and leaves out from the paper. Use the edge of your scissors to curl 2 corners of the petals and leaves. Fold the leaf in half. For petals 4-6, glue and attach the petal edges to create cones. Fold 1 inch of wire, and glue it to the edge of the first petal. Roll it around the wire center, and curl back one of the edges. Take petal 2’s bottom tip and glue it to petal 1, wrapping it around. Repeat this with number 3 to form the rose’s center.
Skewer petals 4-7 on the wire stem, and glue them around the center. Glue the leaf to the floral wire and use the tape to wrap stems of leaf and rose. Repeat the process to create 18 roses and 24 leaves. Hold the base of the bouquet in one hand, and form a dome using the flowers. Add leaves between each flower. Wrap the base with floral tape until it covers half the stem. Fold the wire up to create a thicker handle and cover all but the very end of the stems with tape. Use the ribbon to wrap the end of the stem and back up, tying a bow at the base.
Rolled Paper Flowers

Rolled paper flowers are super simple to make, and can be made using any type of paper! These versatile paper flowers can be used for a variety of things. You only need a few things: blue paper, a pencil, scissors, hot glue gun and a skewer. One Little Project shared this step-by-step tutorial on creating your own rolled paper flowers!
Start with a 6x6 square of blue paper and draw a spiral on the sheet. You can make the spiral however you like. If you make it wavy, the flowers will have more depth to them. Trim the edges to make the paper more round, and follow the pencil lines with the scissors. Luckily, it usually only takes one time to be able to cut the paper just right. Use a pencil to roll the paper if you find that you need to, since it can be difficult to start the twist without ruining the paper.
Wind the paper around the pencil until it’s complete. Set your flower down and let it loosen naturally. The part where you had to stop winding becomes the base of your flower. Place glue here, and press the spiral part down to set. You are now complete! You can finish the other flowers, and you can set a skewer into the glue to create a full flower.
Wall Flowers

Wall flowers are a great decorative addition to your home and walls! They can make the environment feel more feminine, or simply bring together a room. Barren walls often feel odd to most people, so blue paper roses can be a great way to decorate your home. Billie Monster made a great tutorial with high quality photos on how you can create a beautiful wall flower.
All you need to get started is his printable PF template, along with some blue paper, a pencil, glue, scissors and thumbtacks. Once you’ve printed out the template, you’ll be able to get started creating! Use an 8.5x11 inch piece of paper, and use your scissors to cut out the 3 flowers on the dotted lines. You can trace these onto spare pieces of cardboard to create even more flowers. Trace over the cardboard cutouts with pencil on the paper you plan to use for the flowers. Cut them out and erase your pencil lines. You’ll have a bunch of flowers with flat petals. Curl the petals using your pencil, and then flatten them until you’re satisfied with their curls. You can place them anywhere you want!