How to Create a Shabby Chic Chalkboard & Burlap Garland
Posted by Olivia Sum on
If you’re looking for new home décor ideas then you have certainly come to the right place. We are going to create a super stylish shabby chic chalkboard garland which you can hang up anywhere you like or even gift it to a friend or family member. You can have however many hearts you like with whatever wording you like for yours. We will go through which chalkboard paper to use, what you will need to create the garland and how to make it.

Source: https://www.pinterest.com/pin/426645764670396152/
Which Shabby Chic Chalkboard Paper to Choose
The get the same effect as this shabby chic chalkboard garland, we recommend you go for the Chalkboard Dusty paper collection. The collection has 12 chalkboard papers in shades of black, grey and green which will all look great for your garland, depending on the look you want to go for. If you want to go for a shabby chic black and white themed garland then we suggest using one of the darker black or grey shades for the chalkboard. You can get the Chalkboard Dusty paper collection on the digitalpaper.shop website.
What You Need to Make a Shabby Chic Chalkboard Garland

You are going to need a few things first before you get started on your garland so you can complete it and give it the full effect it deserves. Here is the checklist of the things you need:
- Twine – You will need this in order to tie the chalkboard heart to and to hang up the garland.
- Cardboard – This is to be the backing of the chalkboard paper. If you have any ridged cardboard then even better.
- Shabby Chic Chalkboard – This the centre piece for your shabby chic garland. Choose and download the chalkboard paper you are going to use before starting.
- Clipart Heart – You will need to have a heart shaped template to cut out hearts on the cardboard and chalkboard paper.
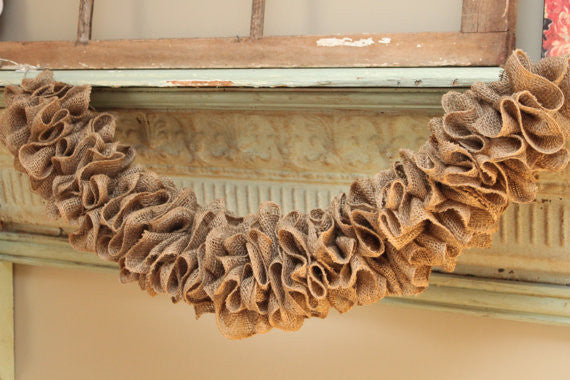
- Burlap – You will use this to add to the twine to create that shabby chic look.
- Ribbon – Choose the colour of your ribbon which you will also add to the twine to create the shabby chic look.
How to make a Shabby Chic Chalkboard Garland

Now that you have all your equipment and you are ready and raring to go, it’s time to start the fun part which is making it. Here is a step-by-step guide on how to make your own shabby chic chalkboard garland with burlap.
- Download the heart template and print it in two different sizes. The larger size will be for the cardboard and the smaller size will be for the chalkboard paper.
- Using a pencil and the large heart temple, cut out however many hearts you want from the cardboard paper.
- Using a pencil and the small heart temple, cut out the same amount of hearts from the chalkboard paper.
- Glue the chalkboard hearts to the centre of the cardboard hearts and leave to dry. Once they are dry, you can use a piece of chalk to write a word on each to create the phrase you want.
- Use a hole puncher to add a hole to the top center of each heart and loop a piece of twine through each one.
- Tie the looped twine to the length of twine so when you hold up the length of twine, the hearts will hang down.
- Cut a load of pieces of burlap and ribbon and tie loads of them around the twine until you fill the entire length of the twine in ribbons. Don’t cut them too long so that they will flop, you want the ends to stick up a bit.
- You now have your shabby chic chalkboard garland which you can hang up wherever you like or give as a gift.
Other Ideas to Add to Your Shabby Chic Chalkboard Garland
Now that you have created your shabby chic chalkboard garland you may still want to carry on because you enjoyed it so much. If so you can add other things to the garland such as hanging clipart images from the garland including vintage flowers and mirrors. Make sure these are hanging higher and are smaller than the hearts so as to not take anything away from them. Tag us into your craft creations on Twitter at @DigitalPaperShop.
Share this post
- Tags: Chalkboard, colours, crafting, creative, ideas, Scrapbook, Shabby-Chic