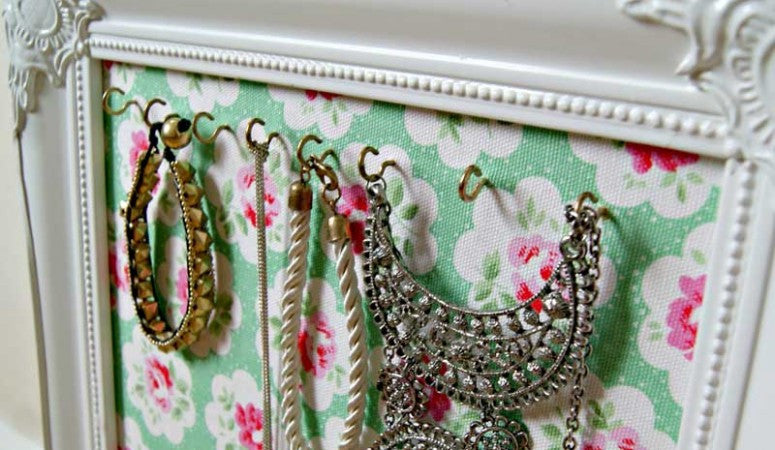
Are you ready for a shabby chic DIY project?
Posted by Olivia Sum on
I just love all the shabby chic I’ve been seeing around Pinterest and all over the net. I thought it would be a noble idea to work on a few for our home as well. So if you adore shabby chic, here is a pronounced shabby chic DIY idea you can start working on. It will be a fun and charming DIY project that will make your home look marvelous!
An exceptional organization and an artistic storage these days are crucial to any home and any family. The result of consumerism is showing in the piles of items that we store in our small flats and homes with diminutive to no space designed for correct storage. We often forget that the easiest method to create storage is the straight up space in your home. We are proposing to you a simple and creative DIY Wall Storage Idea with a vintage-shabby look that we modestly love. Distinguish it beyond limits.
Colourful and Useful Practical Shelves

This shelf unit is one of the most customizable DIY projects there is because you can use whatever wooden box you can get or have at hand. You can merge both old and new wooden boxes to craft a highly detailed shelf. You can modify the shelf by any means but painting in a template could work brilliantly.
Required items:
-flower boxes, old or new wine boxes and any other wooden boxes
-mini chest like drawers as “Moppe” und “Forhöja” from IKEA
-tin cans
-furniture knob in any other colour that you adore
-furniture knob with numbers
-wood glue
-brushes
-colour spray (one colour)
-colourful craft paint, (three colours)
-stipple brush
-drawing instruments
-cardboard
-small scissors
-glue or double sided tape
-clamp tools
-cordless drill
-wood drill bit size five
-metal drill bit size five
-M5 Screw with nuts and bolts
-combination wrench
-Allen Key Socket Set
-hacksaw
-screws and plugs for wall mounting
Take it step by step with persistence

Step 1
Arrange the workplace by placing old newspapers where you will work. Start by spraying the tin can with the colour spray. Gradually rotate the can carefully to even out surfaces. Protective gloves are recommended.
Step 2
Next apply the primer on the wall of some boxes and follow with the chosen colour of craft paint. Small paint brushes should be used to finish the ends and certify the quality of the end product.
Step 3
To avoid drilling unnecessary holes into the wall you can join smaller boxes into a bigger piece. Brush the front side with wood glue and press them together by making use of a clap or two.
Step 4 - Making the templates
Use a pencil or a printer if you have at hand to draw the wanted motif on cardboard, follow by simply cutting them out with high exactness. Fix the template with double sided tape on the drawer front and with care dab more craft paint on with the stipple brush. Here the brush will be dipped with a little colour. You can use printed designs and decoupage them on if painting isn’t your thing.
Step 5
Now in the top third of the can drill a hole with the cordless drill and metal drill bit and with the wood drill holes for the knobs in some drawers. Attach the can with a screw, nut and washer. Furniture Knobs typically have a long thread and if it should be certainly sewn of with a hacksaw. Stick the knobs inside through the drilled hole to see precisely how much you have to saw off.
Step 6
Now merely arrange the boxes in a graphic arrangement on the wall and screw them. Small boxes can be implanted easily above or on the side. By placing them above you improve the versatility. You can simply take them down when you need them or put them somewhere else.
Share this post
- Tags: classic, diy, scrapbooking, shabbychic, tutorial, vintage
